
Playing with clay is never boring. It allows your children to freely express themselves. In addition, its use is not limited to skilled professionals. Clay modelling is for people of all ages. Therefore, we believe that clay crafts are a great activity to partake in with your child. Given below are the materials required as well as five clay ideas your kid can create.
Where Can You Create Clay Crafts?
Potter’s clay dust is fine and will not be sucked by vacuum sweepers. Therefore, it is best to contain all craft activities in one area. Ensure that the space has the following,
- Easy to clean and waterproof floors
- Access to water
- A table as well as a surface to which clay won’t stick
- Open area to try your kid’s creations
- A shelf to store paint as well as other materials required
Materials required to create clay crafts?
1. Clay
Potter’s clay is easily available online as well as in craft stores. Alternatively, you can also make your own clay.
A drawback of using potter’s clay is that it needs to be baked in a kiln to become waterproof and hard. However, you can still create beautiful pieces by simply airdrying and coating them with waterproof solvent. Alternatively, you can visit your nearest pottery studio and have them bake it.
There are a few alternatives available for potter’s clay. You can use air-dry clay, which is a mixture of clay and glue that dries at room temperature. Additionally, you can also opt for polymer clay, an oven-baked clay made from plastic. This clay is waterproof and becomes very hard when baked.
2. Tools
You may require tools like a craft knife to cut the clay and stamps to decorate it
3. Paint or glazes
Acrylic or latex-based paint works well for all types of clay. If you are going to bake your pottery clay pieces, then you can also opt for glazes as they add a professional look to the pottery.
4. A small bowl or bucket to hold water
5. A soft brush and sponges to smoothen the surface of the clay
Clay Crafts To Try With Children
Vase
A clay vase is easy to make. You will need
- A plastic container as a mould
- clay
- A rolling pin
- A craft knife
Firstly, roll out the clay into a 1/4 inch thick slab. Then cut the slab to the high of the vase you want. Wrap it around the container. Then press the edges to join it. Measure the diameter of the vase for the base. Roll out the remaining clay to the same thickness and cut out the base from it. Now attach the base to the body of the vase. Smoothen the surface using a wet brush or sponge. Once the vase dries, cut and remove the mould.
Coiled pencil stand
You will need
- Clay
- Craft knife
Begin by rolling out the clay. Then draw a circle whose diameter is as big as the pencil stand you want. Roll out the clay into a long snake. Then begin pressing the snake along the edge of the base. You can repeat this till you reach the desired height. Finally, blend the clay inside the pot to make the coils stick to each other better.
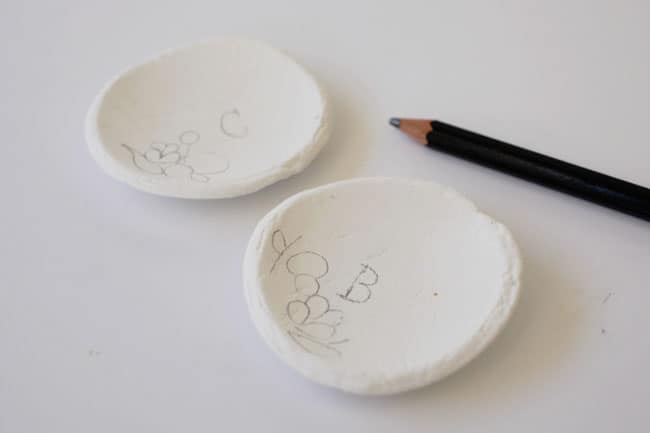
Trinket dish
You will need
- Clay
- A cookie-cutter, plastic container or any other circular object
- Stamps or leaves for decoration
- Paint
- A large bowl
Begin by rolling out the clay 1/4 inch thick. Then trace the plastic container on it and cut out the shape. Smoothen the edges. If using stamps or leaves create the impression in the slab of clay before cutting it out. You can skip this step and pint the dish after it dries.
Then carefully place the dish in a large bowl and leave it to dry. Once dry, remove the dish. You will observe that it has a curved shape.
Pinch pots
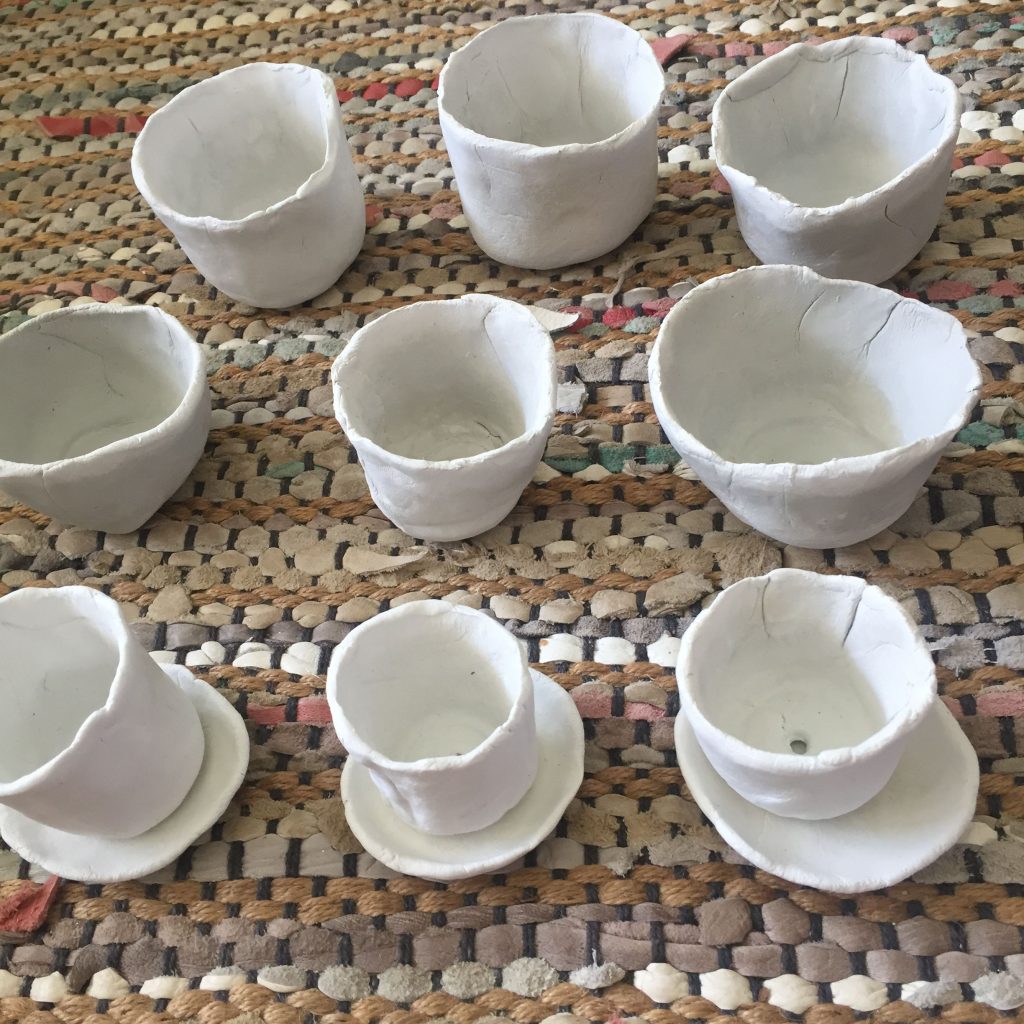
This is a fun and easy craft even for toddlers. Here your kids can make a real clay pot without a potter’s wheel. You will need
- Clay
Firstly, roll a lump of clay into a ball. Once it is smooth, place the ball on your palm and press your thumb slowly into the middle of the clay until you begin to feel the thumb with the palm of your hand. Then open up the walls of the pot by gently pinching it with the side of your thumb and forefinger.
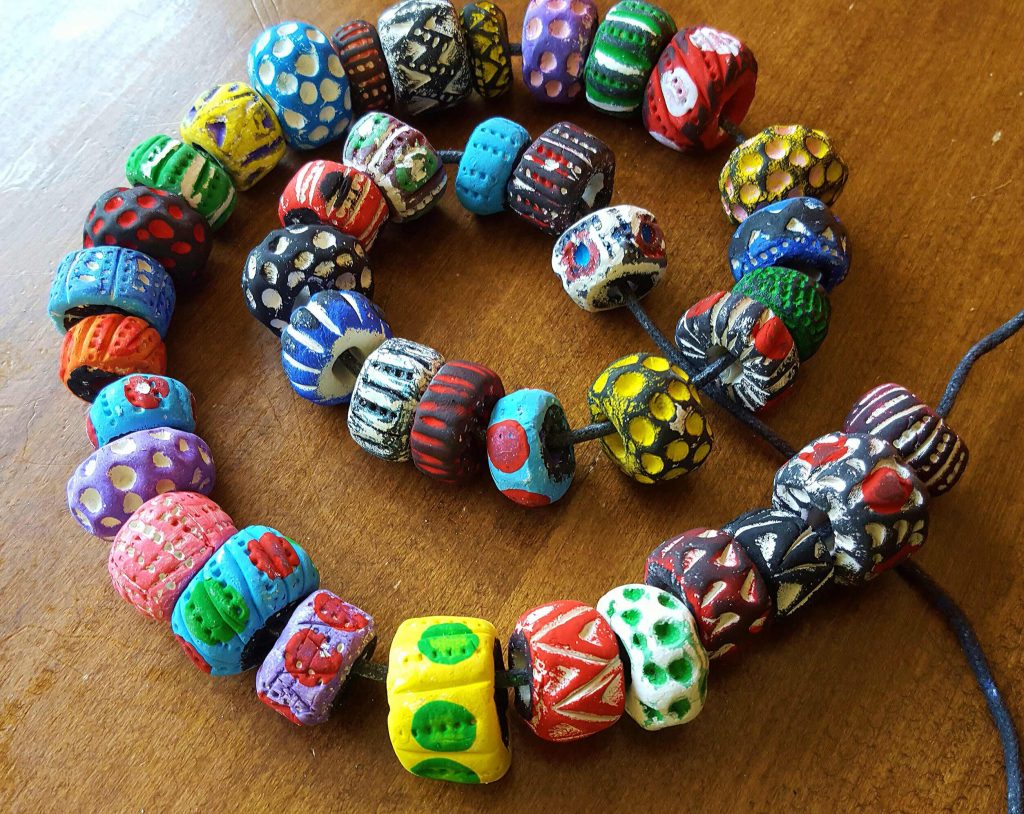
Necklace beads
You will need
- Clay
- A skewer or knitting needle
- String
First, divide the clay into smaller portions approximately the size of a grape. Then, roll the small pieces of clay into balls, cubes or any other shape you would like. When the clay is still soft, use a skewer to make a hole in it. You can paint or decorate the beads with glitter. Once the beads dry, pass a string through it and trie the ends.
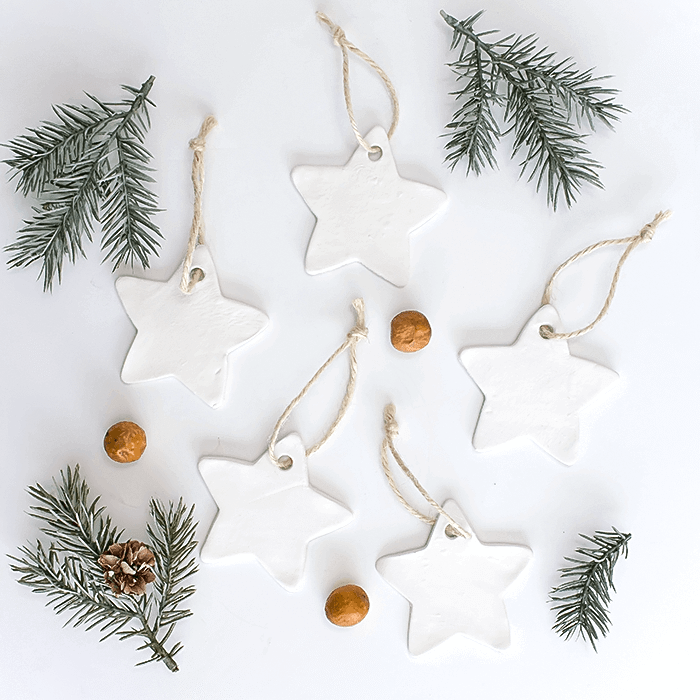
Christmas tree ornament
This is a fun craft to do with kids during the holiday season. You will need
- Clay
- Cookie cutters
- Glitter
- Paint
- Other decorations like pom poms, pipe cleaners etc.
- Skewer
- String
Roll out the clay into a thin slab. using cookie cutters of different shapes, cut the clay and remove the excess. Then poke a hole at the top using a skewer for the string to pass through. Once the clay dries, your kids can paint it or decorate it with glitter and pom-poms. Finally, pass a string through the hole and tie the ends. The ornament is now ready to be hung on the tree.
To sum it up, clay crafts are a fun way for kids to spend time. It is easy and they can create a variety of items. You can encourage your kids further by gifting their creations to close friends and family as well as by displaying them around the house. We also recommend that you try a pottery class with your child if they are interested.
Share with your friends


