
Introduction
The oil painting has a certain cachet because of the way it was popular and many European Renaissance masters use it. However, this doesn’t mean that you cannot use oil paints to create contemporary art. People use this type of paint very much because they are rich and versatile.
Also, These steps are actually for oil painting images beginners if you want to add depth and technique to the art.
5 Steps to Oil Paint
Let’s start with oil paints. Oil paints are basically composed of pigment powder and oil. Linseed oil is usually added. Oil paints take longer to dry and require even extra care in cleaning and use. These are the steps to follow when oil painting.
Gather your materials
To create an oil painting, you basically need oil paints, brushes, and canvas. )
These are the essential supplies to start in oil painting
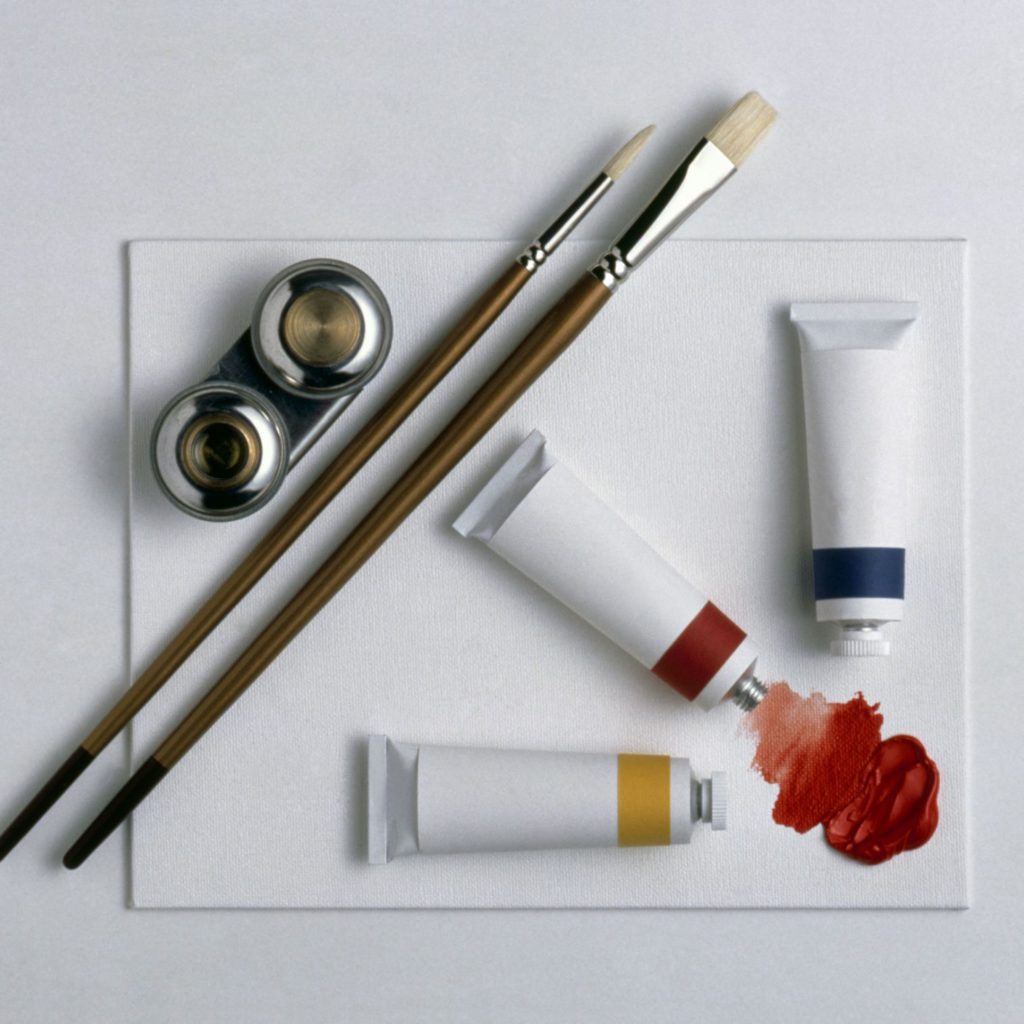
- Paintbrushes made of hog hair (preferable), or synthetic fibers
- Oil paints
- Canvas or another surface for painting
- To thin your paints, use linseed oil and/or solvent (preferably odorless).
- A palette for mixing your paints, such as a piece thick card or a palette knife.
- Paper towels or old rags
- An easel
Start with a few basic colors when you start oil painting. This will eventually let you experiment with color mixing and give you an idea of oil paints’ properties. Once you have mastered oil painting basics, start with the primary colors and white and black. For beginners, starter sets are a great way to start oil painting.
High-quality paintbrushes will indicate whether they are suitable for oil painting. You can either purchase a starter set of brushes or individual brushes, just like with paints. You can mix and match fan shapes of different sizes, including squares, round, and square shapes. It’s a good idea, just like with paints to start small and add to it as you experiment.
A stretched canvas or canvas board is the best surface for oil painting. You will need to prepare the surface with gesso (see Step 3).
Create a safe workspace
Set up your workspace so that you can focus on oil painting. )
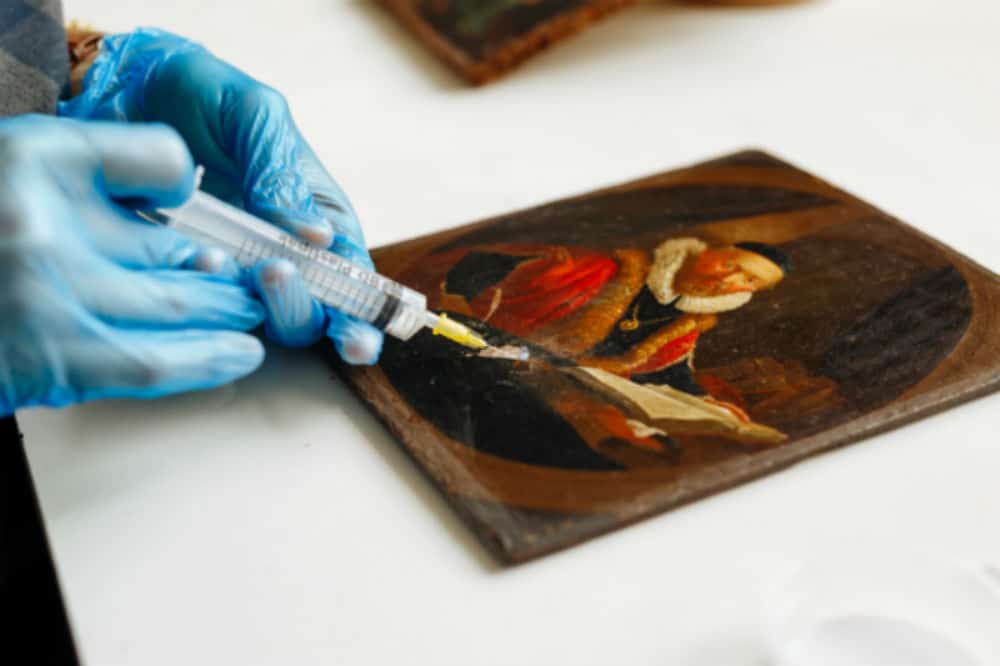
Many people believe that oil painting price is too much and is impossible to do at home. It is false, but it is important to be careful. Oil paints can be strong smelling. The solvents used to thin them and clean brushes can also cause toxicity. You should choose a place outdoors or in an area with good ventilation. It is a good idea to use latex gloves or nitrile gloves when handling paints. Some contain harmful chemicals that can be absorbed through the skin.
Prime Your Canvas
Prime the canvas well to ensure that paint sticks to it and prevent any problems later. )
There is an important step to follow when learning how you can apply the oil painting on canvas. Oil paint can be thick and will seep onto your canvas or other surfaces if you do not apply gesso. This can not only affect the final artwork’s appearance, but it could also cause the canvas to become less attractive over time. Gesso makes it easier for the paint to adhere to the surface.
Some boards and canvases come pre-primed with gesso. However, if you don’t have this option, you will need to apply it. One can make Gesso from a combination of chalk, pigment, gypsum, and gypsum. It is also available in acrylic and rabbit-skin glue. Gesso can take about an hour to dry and typically requires two coats.
Sketch your painting
Sketch your subject in one color on the canvas before you add layers of oil paint. )
Once you have prepared your canvas, it’s time to begin the oil painting process. Artists often use oil paints to cover the canvas with a thin layer of color that will serve as the base for the painting. Next, they sketch the main shapes, lines, and focal points on the canvas with a pencil or light coat of black paint.
Now you can mix colors. You can apply color mixing principles to oil paints just like you would to other types. To give your paint a different effect, you can add solvent or linseed oils to it from the tube.
Layer your paints
Oiler paint is slower to dry than thinner paint so layers well. )
Once you have prepared your painting, it is time to apply the paint and color. Oil painting is best when you follow the “fat over thin” rule. Oil paint will not crack once it is dry. The more oily the paint, the slower it will dry. To prevent cracking, always apply thinner (or lighter) paints before the fatter (order) layers. What is the drying time for oil paint? It depends on the thickness of the oil paint, but it can take up to three months.
How to Clean Oil Paint Brushes
The first step in oil painting is learning how to paint oil on canvas. It is important to learn how to clean up.
Oil paints are oil-based so you cannot just wash your brushes with water. Oil paint should not be dried on brushes, as it can cause irreparable damage.
Step 1: Use a rag and solvent to remove excess paint
You should clean Oil paintbrushes with the correct chemicals to prevent them from hampering. )
Wipe off any paint residue from your paintbrushes using a paper towel or an old rag. To remove any paint traces, you can add turpentine to a cloth.
Be sure to soak towels and rags in water before you throw them out. Chemicals that were applied could cause them to explode.
Wash with warm water and detergent
Brushes will last longer if the user maintains them properly. )
Then, rinse your brushes with warm water. Finally, use a little dishwashing soap to clean the brushes. Before you finish washing, make sure you remove all the paint.
Dry in Open Air
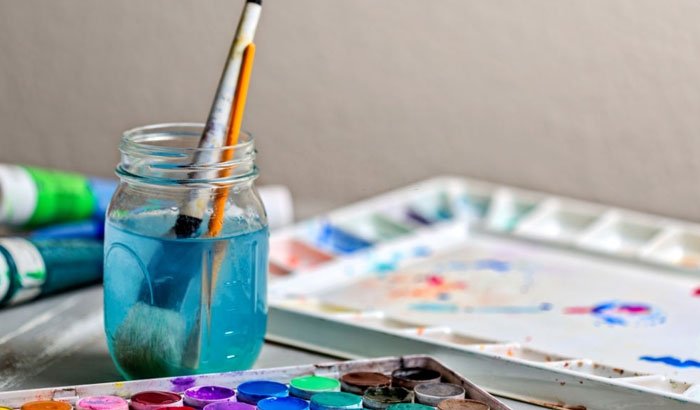
You can use your oil paint brushes to make an oil painting. )
Don’t forget to place your brushes in a jar with the bristle end facing up. Make sure you do not keep it in a dark spot.
Oil Painting Tips For Beginners Kids
Although oil painting is relatively easy to begin with, it is more difficult than acrylics because you work with solvents and mediums. The drying time can be longer. Artists who have been painting for some time have their preferred brands, brushes, palettes, and mediums. However, these general tips may prove useful if you’re just starting with oil paints.
Begin with small paintings
You can experiment with colors and techniques by painting small. You can purchase small canvas boards or canvases 8×10 inches in size, or you can try oil painting on paper. Make sure to gesso the paper before you start.
Organization is the Key
You will need to set up a space where your supplies and palettes can be easily accessible. You will be able to look at your work and reflect on it, even when you are not painting. This will make it easier to paint, so you’ll be more inclined to do it daily. If you are a prolific painter, your work will improve quickly. This is art-making.
Brushes: Invest in them
Professional grade paints are more affordable than student grades. Professional grade paints have a higher ratio of pigment to binder. Only purchase high-quality brushes – three sizes are moreover sufficient to start with the process. As you paint more, you can purchase more of the same shape and experiment with different sizes. Synthetic brushes can be used for oil-based acrylic paints, but you can also use natural hair brushes. The most common type of brush is the bristle (or hog) one.
Prime Your Painting Surface
You can actually apply the paint to many surfaces, including oil painting canvas, wood, and paper. However, it is important to apply a primer known as gesso to the painting surface. This will eventually prevent oil from seeping into your surface, protect it from acids, and ensure that paint adheres better to the surface. If you prefer a smoother surface, you can use pre-primed canvas or boards and add another coat of gesso. Ampersand Gessobord provides a durable, smooth surface that is easy to work on.
Understanding Color and Color Mixing
Primary colors are not pure but lean towards either blue or yellow. They can be made warm if they are toward yellow or cool for blue. This affects how the primary colors are mixed to create secondary colors.
Use a limited painting palette
Do not feel pressured to use every color in your painting. Monochrome is a painting that has only one hue and its shades (black added) or tints (white added). Depending on your preference for a warm or cool painting, you can use any color that you wish. This will help you feel the paint. Add a mix of warm and cool primary colors to your palette. You can also add earth tones such as burnt sienna and burnt umber.
Start with an oil sketch
This is a thin, turpentine-based underpainting that consists of a color and turpentine. It will dry quickly, so you can add layers of paint or color to it without waiting too long. It is useful for laying out values and compositions, regardless of whether you use it on a white canvas or tone it with a neutral grey.
Understanding Paint Order
Paint thicker than thin, lean over fat, slow drying over fast drying. This means that thinner paints and less oil are used in the first layer, while thicker paints and higher oil contents can be saved for the subsequent layers. This will ensure that the earlier layers dry first, and prevent cracking. Begin with underpainting using paint and turpentine. Next, you will move on to a medium that uses a mixture of turpentine oil and linseed oils in a ratio of 2:1. Linseed oil may yellow over time, which is more evident in light colors. However, it dries much faster than other oils.
Brush your teeth
When you have completed the painting, it is important to wash your brush with soapy water after each color. Oil painting can be messy. To wipe off excess paint or turpentine from your brushes, keep paper towels and rags on hand. Two containers are handy for painting: one for turpentine to clean your brushes between colors, and one for medium to mix your paint.
Keep it tidy
Oil paints or mediums can be dangerous if they are ingested into the skin. Keep them out of reach for pets and children. Properly dispose of all paints, mediums, and rags. Because they are flammable and can be heated up during drying, they should be soaked in water or soaked in water before disposing of them.
Oil Painting Techniques
You can learn oil painting techniques to create better paintings. When you see the results you can achieve, you will feel the satisfaction of mastering oils painting.
These six tips and techniques are what professional artists use today.
You can create simple paintings or learn more about painting techniques and be considered a novice painter.
Here are 6 basic and essential oil painting techniques that will get you started.
Step 1
This first technique has been used for more than 400 years. This technique is called the Flemish method and breaks down the painting process into manageable steps. This step-by-step process makes oil painting easy for beginners. This oil painting technique is foolproof and safe. It also forms the basis of my PDF oil painting techniques “A Real Art Lesson”.
You’ll be amazed at how successful our members have been if you look at their paintings (especially first-timers). These paintings can be viewed here.
Although you don’t need to use this technique, I have found it to be a reliable way to create great art. You can also find other techniques on this site.
Step 1a. These are direct methods that could include:
- Plein Air, painting outside, which includes landscapes, cityscapes, and seascapes.
- Alla prima in one place. This is a difficult technique for beginners but it’s worth trying on a small canvas to see how you like it.
- Wet to wet. Part of the Alla Prima camp. This technique was made famous by Bob Ross and William Alexander.
- Abstract even though my work tends to be representational, I let it all down and let the paintbrush do its thing.
Step 2. Secondly, Look for oil paintings that you can do on my “Demos On My Easel”. You can click the link to go straight there. You will find many demonstrations on this page, including the one shown below.
Below is a painting that shows how I demonstrated the steps involved in building a large canvas. It was a tight squeeze, you might say.
Step 3. Thirdly, you need to Gather your materials. This is why it’s placed third. It is usually listed first on most websites.
Before you shop, you need to know what you’re getting into. A surgeon does not gather his tools and team until he is fully versed in the process. The plans are what a carpenter needs to be able to build a house.
You need to understand the process and have an idea of what you want to paint before you can gather your materials.
Step 4. Composition! Step 4. Composition! This is important to remember when you’re creating your first drawing or setting up your still-life.
Step 5. It’s not just about matching the sofa!
But, a color that resonates with the whole person is a NO.
Trends in color are also important. A whole industry revolves around the most popular color schemes for the year. When you start to plan what you want to paint, do some research.
Step 6. Finally, Now you are ready to begin your painting. As You now have an idea and a process. You know the content and its subject matter. You also have a basic color scheme that you want to follow. Finally, you have collected your materials. It’s finally your time to get started!
Here are Some Easy Oil Painting Ideas For kids
Flower
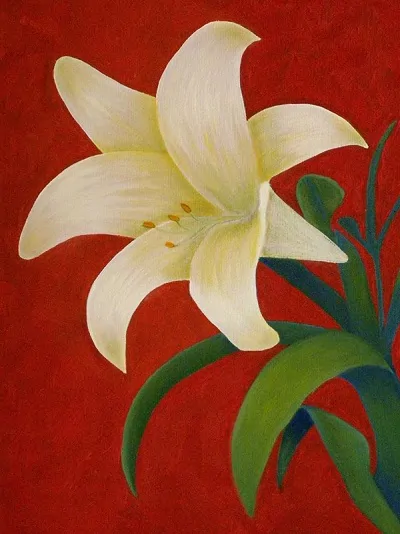
Flower paintings are the best oil painting ideas! Aren’t flowers painting and drawing one of the first art projects that children learn as children? This one may take you back to those early days. If not, sketch a flower, then paint the background. Once you’re done, add the stem and petals to the background.
Tribe-inspired art
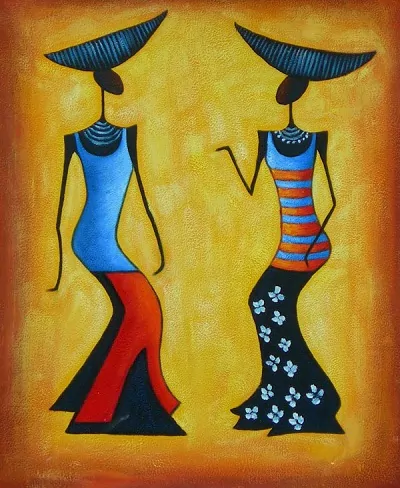
Our forefathers left authentic examples of art, including historical paintings and traditional values. It is exactly what millions of artists seek to understand tribal values. Although oil painting might seem difficult, it’s not. You will need to use a light yellow oil painting background color and some pencil work to draw the human shape. To depict their clothing and bodies, consider different textures and colors.
Disney
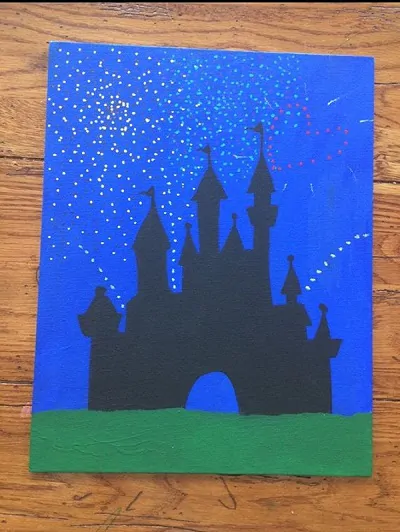
Yay! You can’t go wrong with Disney World! This is your chance to consecrate and honor the feelings and love that you have held for a long period. You should consider creating a Disney masterpiece if you are a Disney fan. This is the easiest painting that you can draw, even if you are a beginner. A blue background can be combined with bright stars to create stunning night scenes.
Landscape
You are looking for a name that will go well with the beginner oil painting ideas. Oil painting landscapes is something you can try. First, choose your favorite scene or photograph. Start by drawing a grid on the canvas. Next, take a photograph. Next, draw the subject and create the background. To make sure you haven’t missed anything, do a thorough inspection.
Clouds
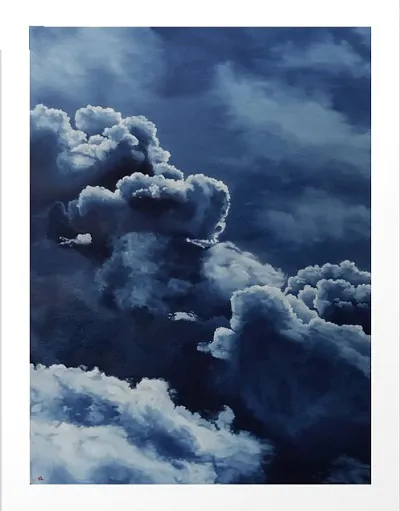
Although I might not be alone as a cloud, in an oil painting we may create stunningly beautiful clouds. Clouds are a popular choice for landscape painting. Start by drawing your clouds. This is one of the easiest oil painting for wall techniques for beginners. Both shadow and light texture is important. After you have finished painting the clouds, paint the background. It takes patience and a lot of time to paint the sky blue. Once you have completed all the steps, you can be proud of your work.
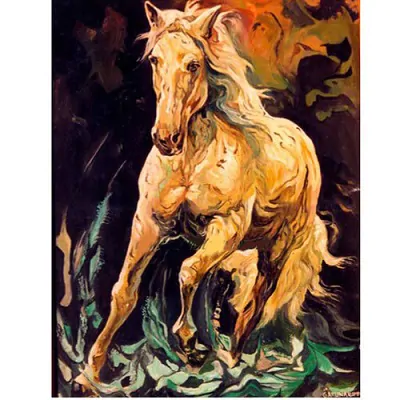
Horse
You must be able to reference and sketch properly to complete a horse oil painting. This is the second tip on the list of tips for beginners. To complete the painting, you will need a strong horse. Once you are drawn, pick your colors and start coloring the base.
Still Life
Artists have total control over their work and can wear still-life oil paintings. As long as the light source is consistent, it can be artificially created or from outside. Once you have finished the composition, draw the sketches and start filling in the colors.
Sunset
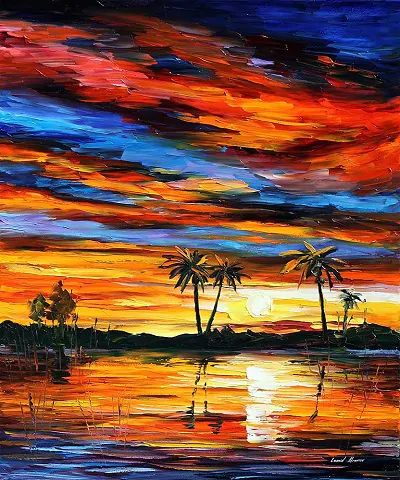
When drawing a sunset, you can use as many colors as you like. You can use a mix of yellow and orange to create shadows. Depending on the color of the sunset, you may also need dense shades of purple and blue. The most popular way to show sunsets on the water’s surface is by using them as a backdrop.
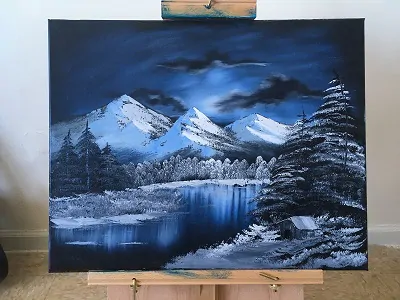
Mountain
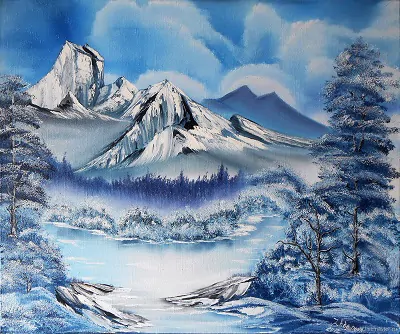
Mountain Oil Painting Mountains are engulfed in a mysterious fog that covers the massive structure. Because of its strength and serene, but still strong aspect, it is a favorite of artists. It doesn’t matter if you draw it in pure white or use golden tones. The illusion is the same.
Tree
This is the time to think outside the box. Trees aren’t usually painted in only green or brown as is the case in many places. We don’t mind if trees are painted orange, red, and yellow. Have you ever thought about it? There are still many things to think about.
FAQ
Q1. Which painting is good for kids?
Ans. Our favorite kid’s paints
- You can wash tempera paints in a simple way (this is the best and cheapest kind for kids, but if you have a tight budget and only want one type of paint, this is it).
- BioColor paints are our favorite paint for kids; meanwhile it’s not as expensive, but it dries shiny and sticks to more surfaces.
Q2. Which color is used for oil painting?
Ans. Best Colours are:-
- Alizarin crimson.
- Cadmium red or Cadmium red light.
- Burnt Sienna or transparent oxide brown.
- Raw umber.
- Yellow ochre.
- Cadmium yellow or lemon yellow.
- Titanium white.
Q3. How many colors do you need for oil painting?
Ans. Oil painting color: Use pigments to create shades. You will need six colors to create the most diverse hues. These six colors are the primary colors. You can also choose a warmer or cooler version of each.
Share with your friends


